
I had been racking my brain as I wanted to pick another scary and gory subject for a cake, after last week “chopped-hand cake“. It had to be something not too complicated and with a good chance to look realistic when shaped with icing and other edible ingredients. A “brain” seemed to be a good idea. Where to start though? Mmmmm, maybe from a reddish cake…. a red velvet cake! It was my first velvet cake, so I checked online and I picked a recipe that seemed quite easy and had good reviews and feedback.

tasting the brain cake. So good!
If you want to attempt baking the same cake I baked, you can find the red velvet recipe here. Keep in mind: I only use this recipe to bake the sponge, as I wanted to prepare my own icing for the decoration. I baked it in a tall, 20cm in diameter baking tray. This allowed the cake to rise forming a tall cylinder that could be better shaped. For this reason though, I had to bake the cake for almost 45mins (almost double than the time in the original recipe) to let it dry and cook inside.
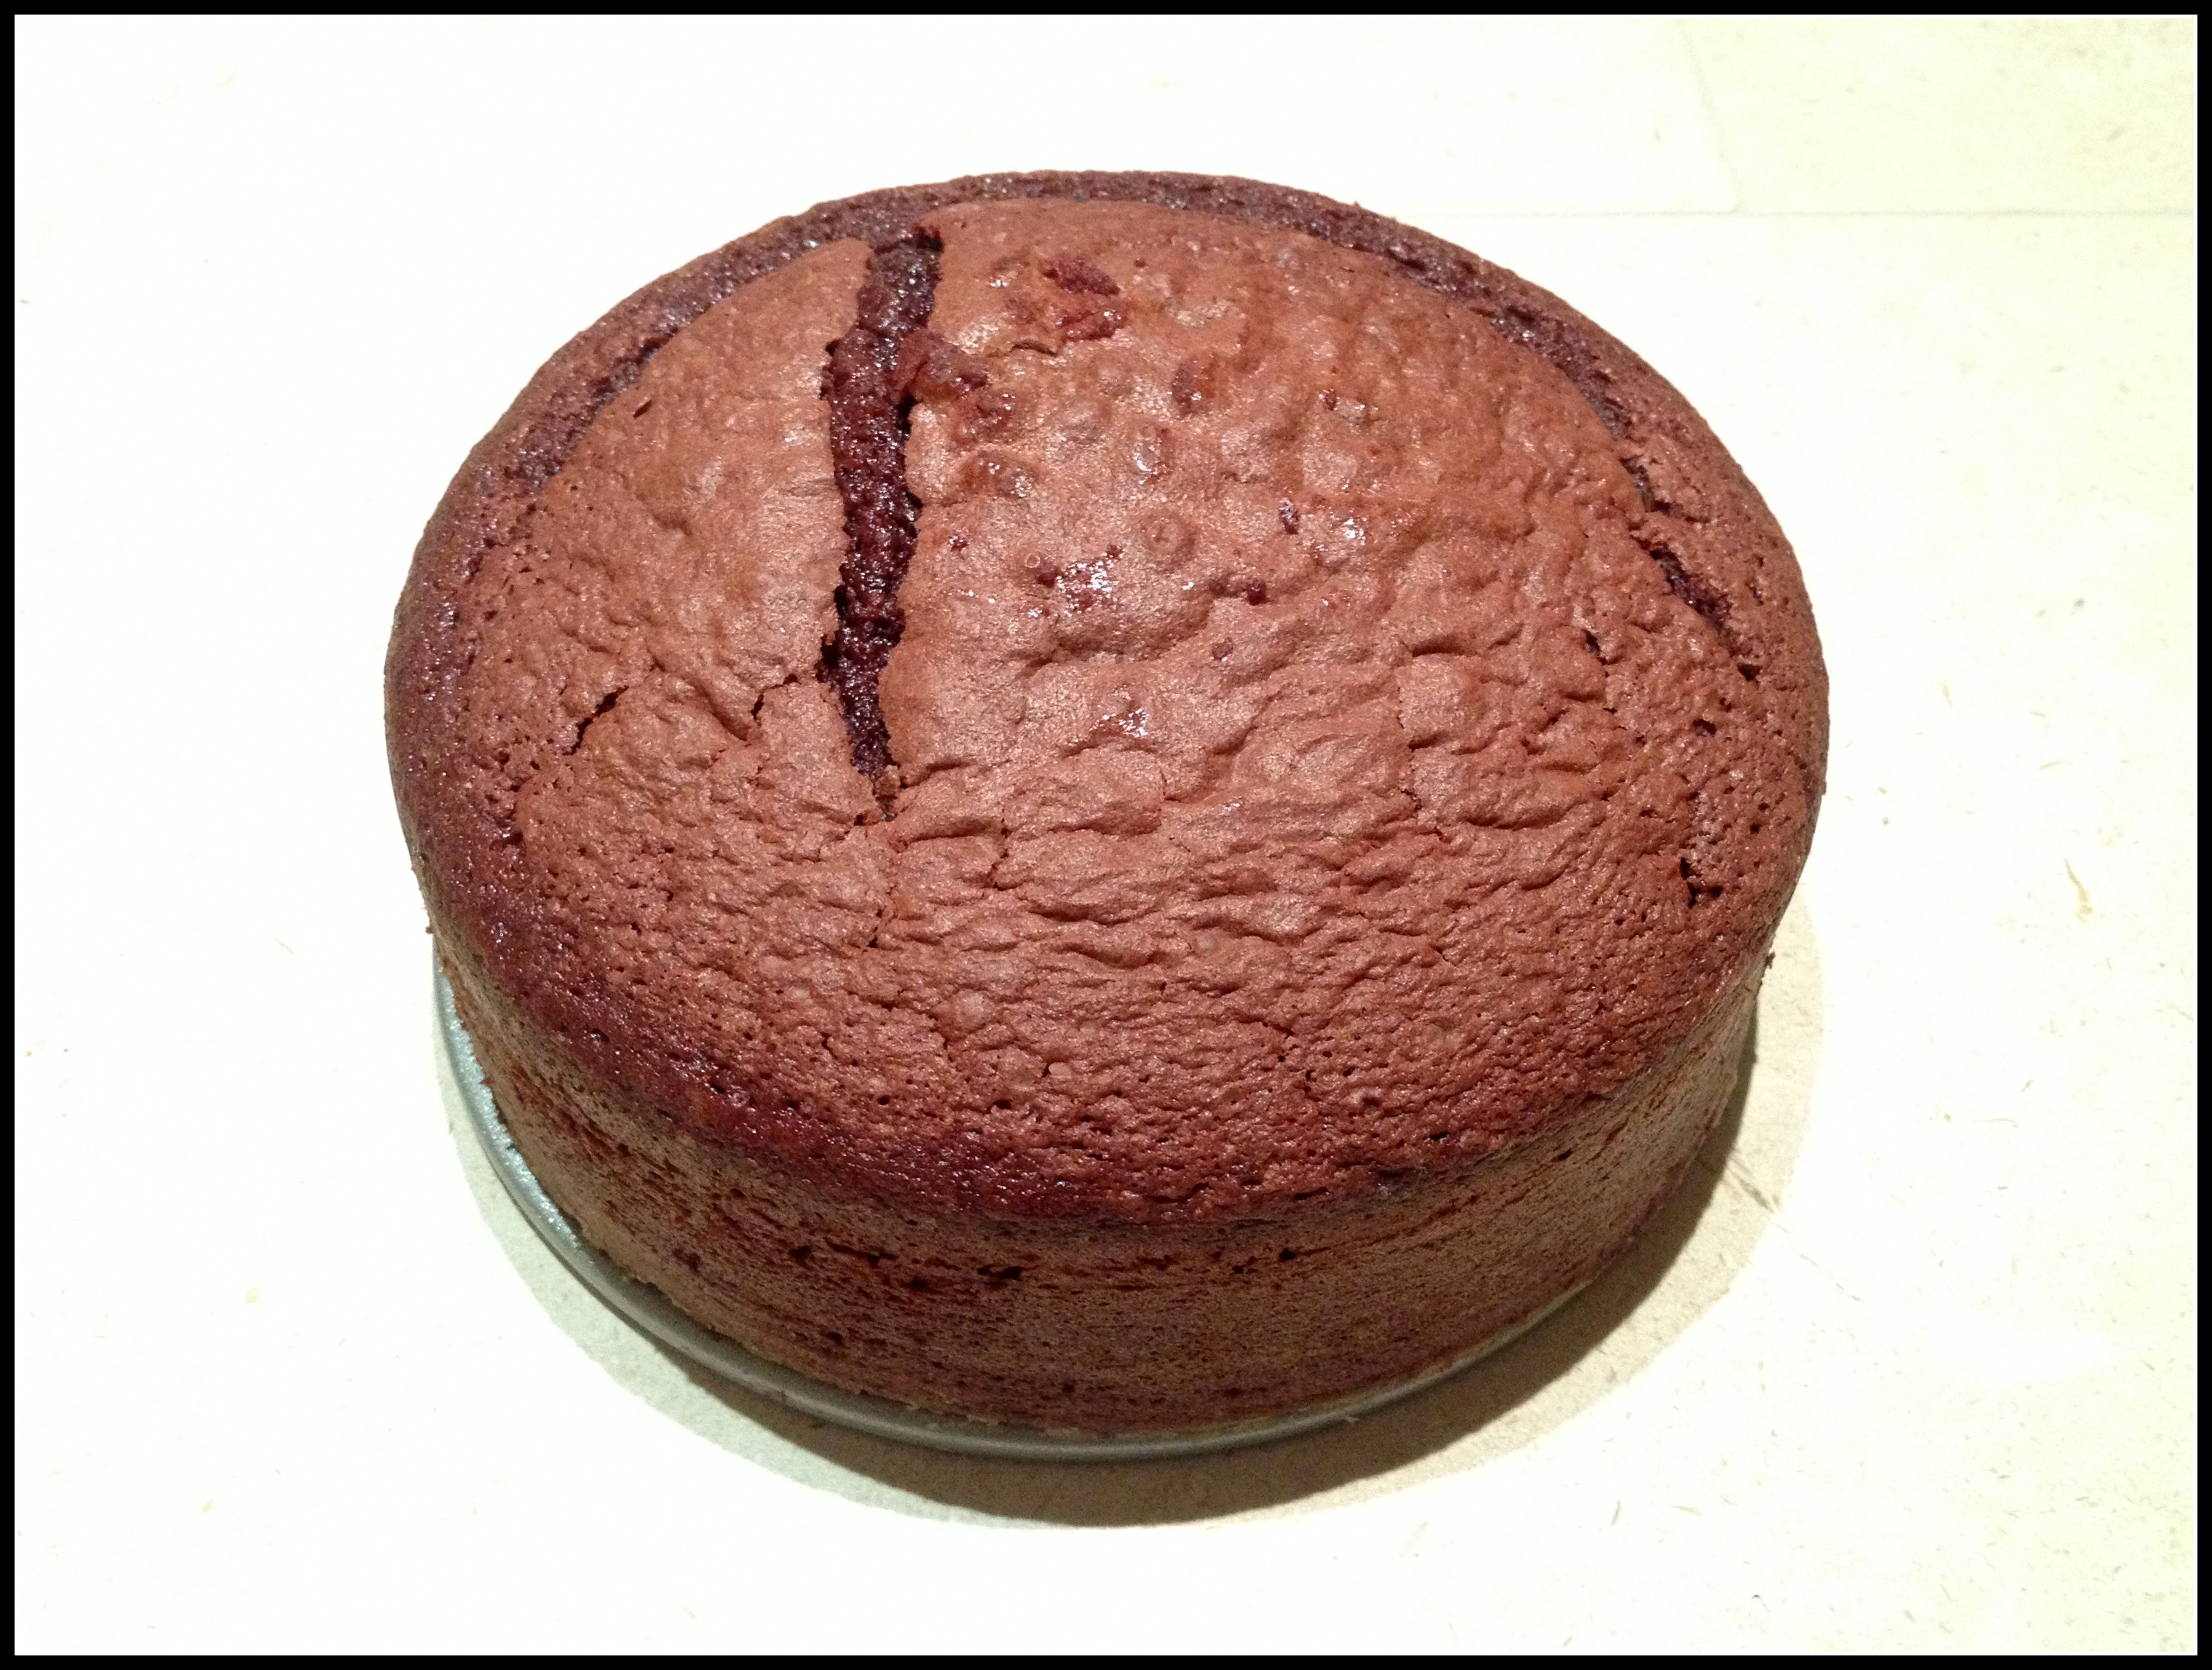
Sponge of the red velvet cake
The sponge was now ready. What to use for the decoration?
BRAIN CAKE
Ingredients for the decoration:
– 250g red icing
– 350g white icing
– 12g of thickening agent for icing
– 12 pitted cherries and 15 raspberries (you can use any red fruit you like)
– 7 gelatin sheets
– a small paintbrush and some tools to model icing
– a sheet of baking paper
– a rolling pin

Red velvet cake sponge with icing, edible colors and tools: ready to start decorating!
Use a sharp knife to carve the sponge. You want to obtain an elliptical shape with a furrow in the middle. Also, cut off some sponge on the edges to create an overall more rounded shape.

shaping the sponge with a sharp knife to create a brain shape
Cut off one or two more furrows on each side of the cake, parallel to the main furrow. This will help creating a realistic base for the brain shape. You can check online for some pictures in order to get an idea of how a brain should look like. I know, it’s a bit gross…but we are decorating a gory cake after all!
Use your hands to mix 5g of thickening powder agent for icing with the red icing; this will contribute to the final hardening of the icing once the cake is finished. Prepare two thin red icing sheets using a rolling pin. Use some icing sugar to avoid the icing to stick to the table or to the rolling pin. Now place one of these red sheets on the baking paper sheet. It will be the base of your cake that you can easily move around. Place now your carved sponge on top of the red icing sheet.
To prepare the gelatin, put the cherries and the raspberries in a blender. Blend and put the mix in the microwave till it boils. Wet the gelatin sheets in cold water; as soon as they soft, squeeze them with your hand to eliminate the water in excess, then add them into the boiling-hot blended fruits. Stir with a spoon until the gelatin is dissolved. Pour half of this gelatin on top of the cake to cover it with a think sticky layer.

Carve some incisions parallel to the central one; place the cake on a thin red-icing sheet, then pour half of the the red fruit gelatin on the cake
Cover the cake with the second red-icing sheet you have already prepared. Use your hands to carefully and delicately arrange the icing to stick to the cake, following the ridges and furrows you previously carved.
Mix now the 7g left of thickening agent for icing to the white icing. Prepare a thick sheet of white icing and place it on top of the red-icing layer. Once again, use your hands to better arrange and model the icing.

Cover the sponge with one thin layer of red icing and then with a thicker layer of white icing
The cake has now a brain shape! But details have to be added to make it more realistic. Use some tools to model the icing and create meandering and curved patterns that resemble the ones a brain has. Be gentle in modeling the icing, but don’t be too afraid of breaking it. If you break it, in fact, some of the red gelatin or icing underneath will be visible, but they will look like realistic bleeding cuts.

Create the meandering shapes of a brain using modeling tools for icing or clay
Once you are happy with the carving, use a paint brush to add on top of the cake the gelatin that is left. The gelatin will add color and shine to the cake. At this point you can place the cake on the serving tray. Use some gelatin (if any left) to simulate clotted blood puddles on the sides of the brain. And…your cake is done!

place the decorated cake on a tray. Add some gelatin (if any left) on one side to create the clotted blood effect
Enjoy! (well…. enjoy if you can ignore the shape the cake has!)
